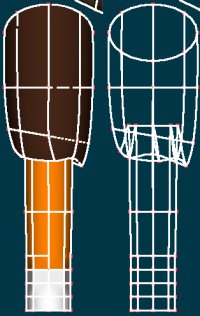
All about Philip
Games I worked on
My Miata
My Norton
The Gallery
Creating a Gryphon
|
This is page four of a combination tutorial and creation log of the steps I went through creating a gryphon model in Animation:Master. |
|
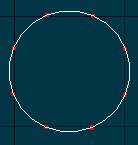
It turns out an 8-point spline will work well for our purposes here... even though it is kind of a lot of splines for such a simple surface, it's the best way to get it to connect up smoothly. As it turns out, getting an 8-point spline is easy, but getting it oriented the way we need is a little annoying. I finally just made one as usual, rotated it 90o, and then rotated it arbitrarily until it lined up like I wanted, as you see on the left. |
|
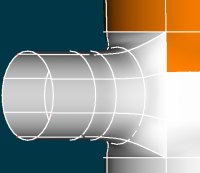
I extruded the 8-point spline a few times, to get a little room to work, then lined it up with where I want it to go. Oh, see those gaps? That's where I want it to go... I just clipped the lines first, just like we did to open up the beak, earlier. |

|
|
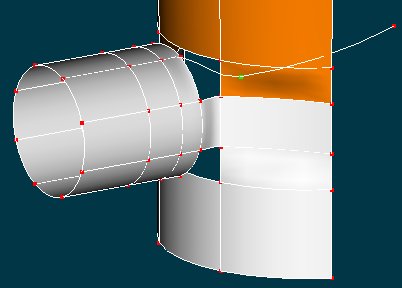
So, the sides were really easy to connect - the nice curvey splinage is exactly what we want. However... the top is a little trickier. I'm trying this 'dangling hook' technique, where we connect the first CP like you see, and it's pretty obvious where the second one (in green) is going. The third one, however, is going to just... hang there. I'll use it to control the curvature of this shape. |
|
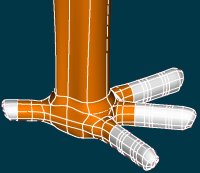
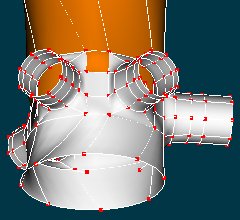
That was easy enough - just added the other three toes in, and connected them all up nicely. Hmmmm... what's wrong with this picture? Oh yeah... talons aren't spread out like a + ! Well that's easy enough to fix - we just have to grab the appropriate splines, and slide them around! This is where being able to offset the center of a rotation is really handy! It's easy to do - just select the CPs you want to move, press 'r', and then click-drag the very center of the deformation circle. This sets the new center of rotation. It does deform things around the wrist, but the basic circularity is retained. Hmm. Is this good enough? Hmmm. |
|
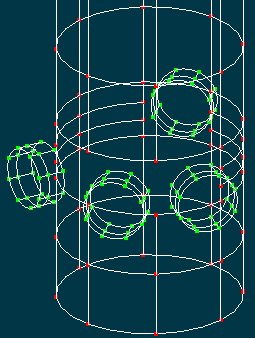
You know what? That sucks. I can do better. So... I grabbed the whole leg, made a copy, grabbed one of the toes, copied it, then whacked off the entire proto-foot, re-extruded the lower leg, and started again. Looking at the way things lined up above, I realized that it would be much better to just basically attach the front three toes together as a unit, and the rear one seperate. This avoids distorting the splines around the leg itself, which... while it wasn't causing a problem at the moment, I suspect might have come back to bite, later. Realizations like this are why I leave off attaching the appendages until late in the process! This way I could experiment very easily, without committing myself completely to either course. So, look at this one. Again, the geometry is very similar, but I deleted the splines and CPs all along the front, rather than every-other-space, as above. |
|
|
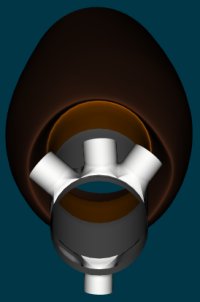
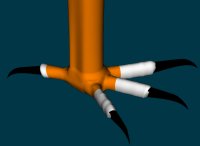
There, everything's linked up and connected. This is a view from below (obviously I haven't closed up the bottom of the foot yet). Much better, I think. The edges of the curves are still pretty sharp, and of course an eagle's leg (or gryphon's) isn't just some perfect tube, off of which stick perfect-tube toes... so there's going to be a fair amount of geometry-tweaking to get things looking a bit more natural. |
|
Hmmm. Better, but still not great. Probably better enough, at the moment, but I get the feeling I'll be spending a fair amount of time tweaking these. I don't have any real good side-view/top-view reference shots of eagle talons, so I'm kind of working off what I know about parrots. Some decent decals will help a lot, too... digging those up will be interesting. So... what next? We've got the two legs at least moderately well done, the head's pretty good... must be time for the wings! Which means... time for new page! |
